Working with Git on VS Code
Visual Studio Code has an integrated source control tool, making it easier to work with Git repositories. The following documentation shows the basic workflow for using Git with VS Code. For full documentation, review Using Version Control in VS Code.
Accessing Source Control
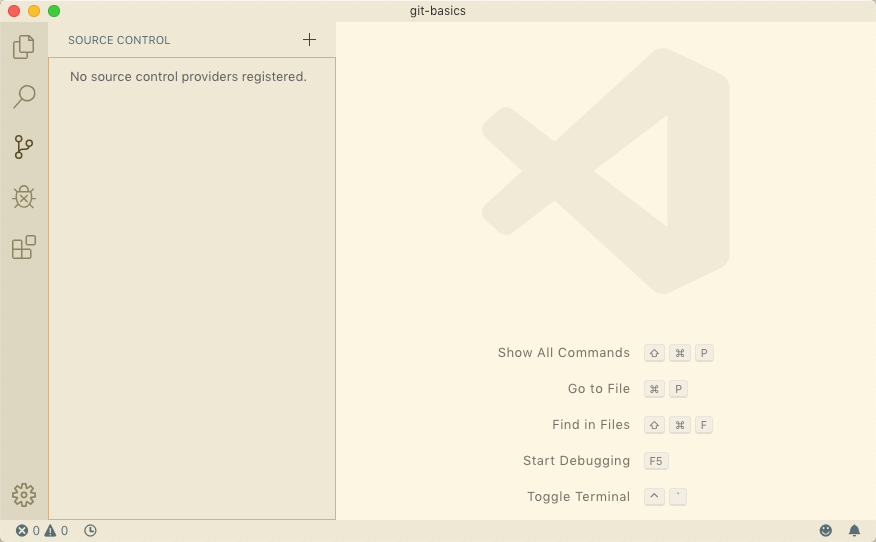
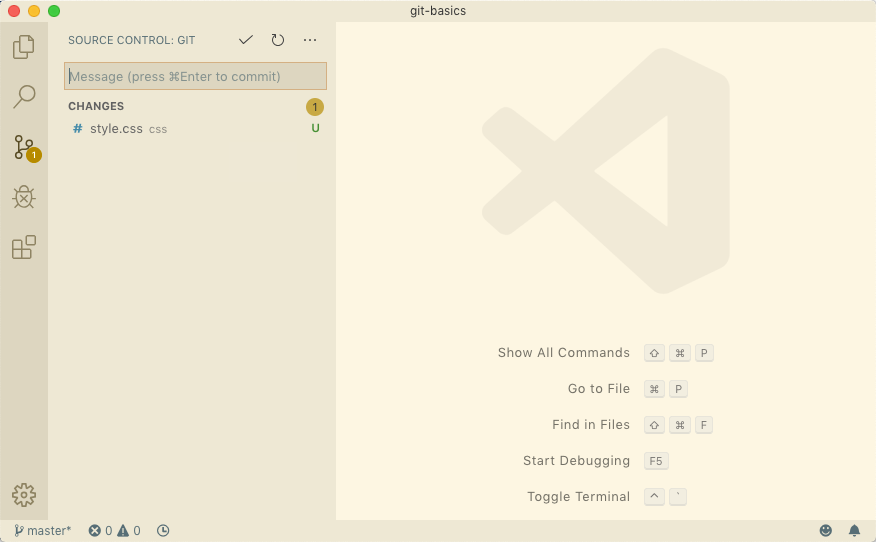
We can access the Source Control view by clicking on the Source Control icon in the Activity Bar.
![]()
Once in the Source Control view, the repository status will appear in the Side Bar. If the current directory has no repository, a message will appear instead.
Initializing a repository - only once per folder
To initialize a new repository in Visual Studio Code, enter the Source Control view and click on the heavy_plus_sign: sign at the Side Bar's top right corner.
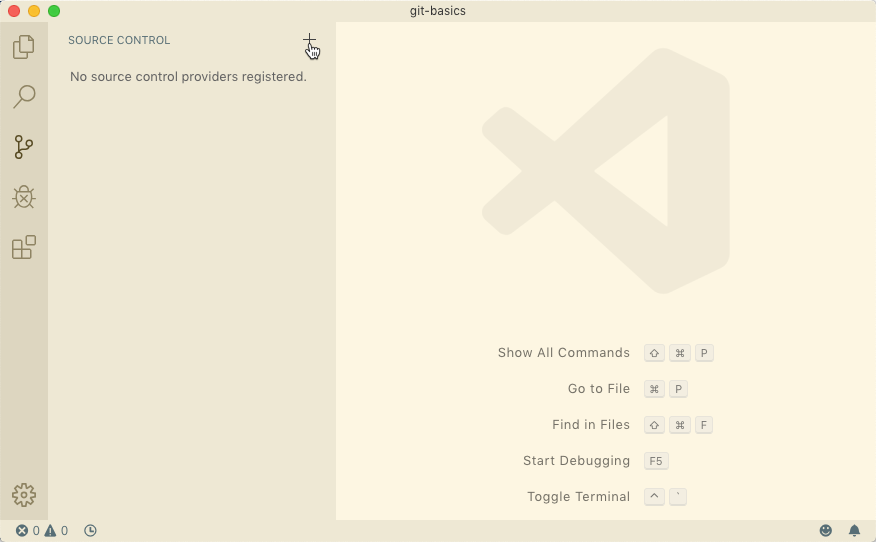
You will be asked to select the folder where the repository should reside.
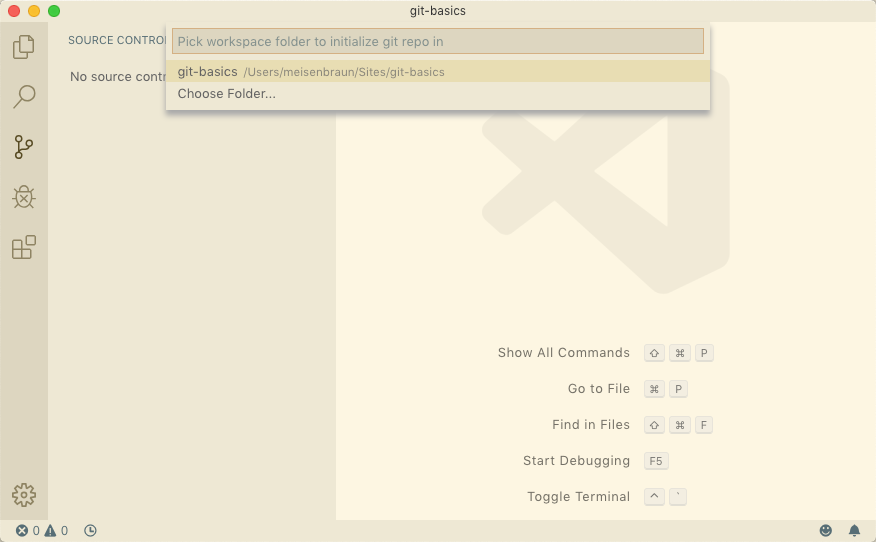
Visual Studio Code will create the repository and update the Side Bar with the current status.

Cloning - only once per repository
In this course, we will most often be following a different workflow that revolves around a remote repository. Instead of initializing local repositories, we will usually begin by creating a remote repository on GitHub and then clone it to our computers.
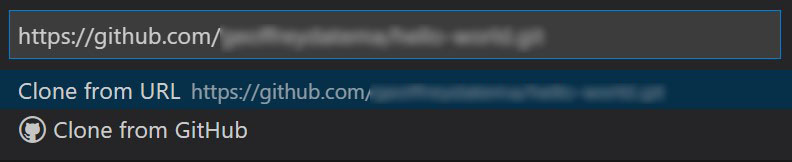
- Copy the repository URL from GitHub.
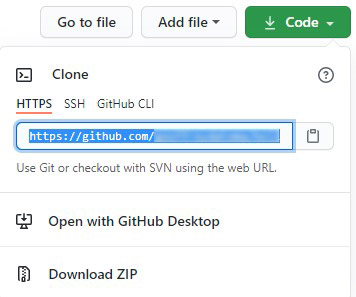
- In VS Code, open the Command Palette (
ctrl+shift+p- Windows,cmd+shift+p- macOS), and type "Clone". Select theGit: Clonecommand.

- When prompted, paste the copied repository URL in the text box and hit
Enter.
- A dialog box will appear to select the location for the repository.
For more information, refer to the Official Documentation.
Adding to the staging area
After making any changes to the files or adding new files we need to stage them for committing.
To add a file to the staging area, hover the mouse over the file and click the ➕ sign that appears.
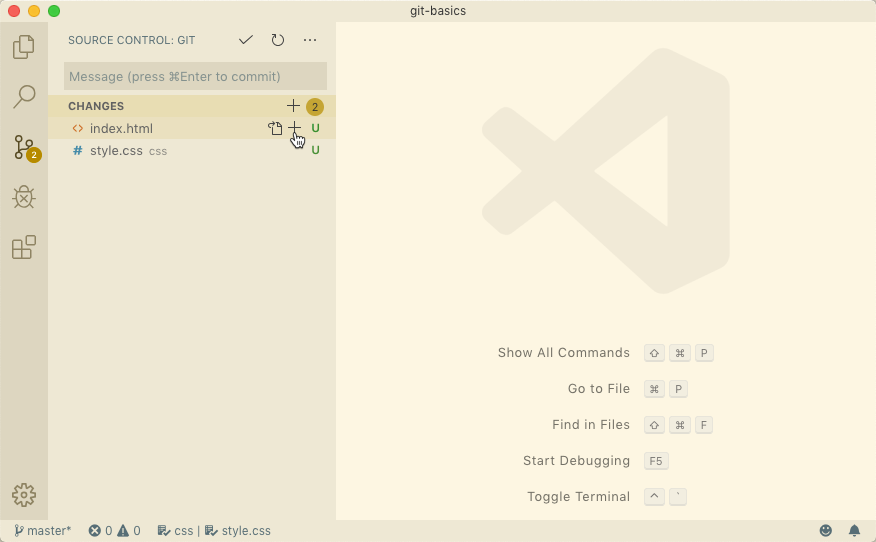
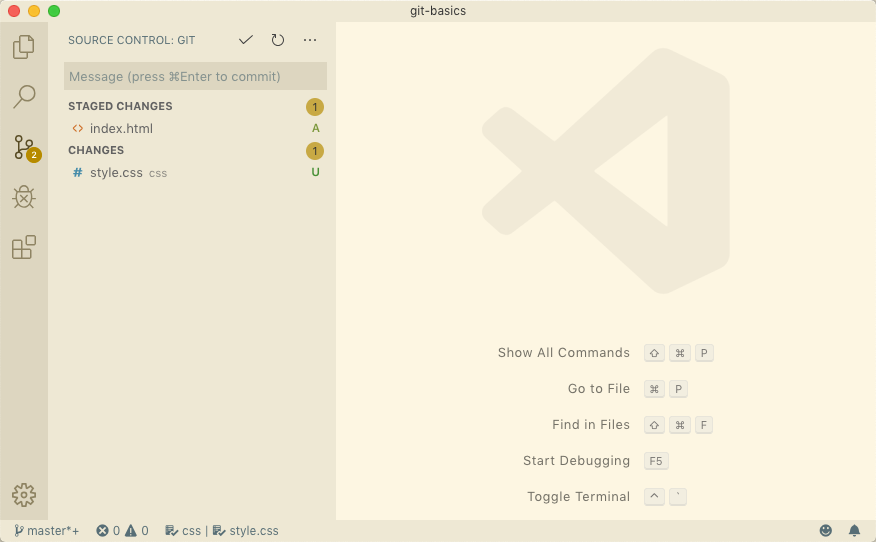
Visual Studio Code will visually show that the file has been moved to the staging area.
All files can be moved to the staging area by hovering the mouse over the CHANGES header and clicking the ➕ sign.
Committing the changes
After staging the changes we have made to our folder we need to commit these changes to our repository.
To commit files in the staging area, we enter a message in the Message text box and hit enter or click on the ✔️.
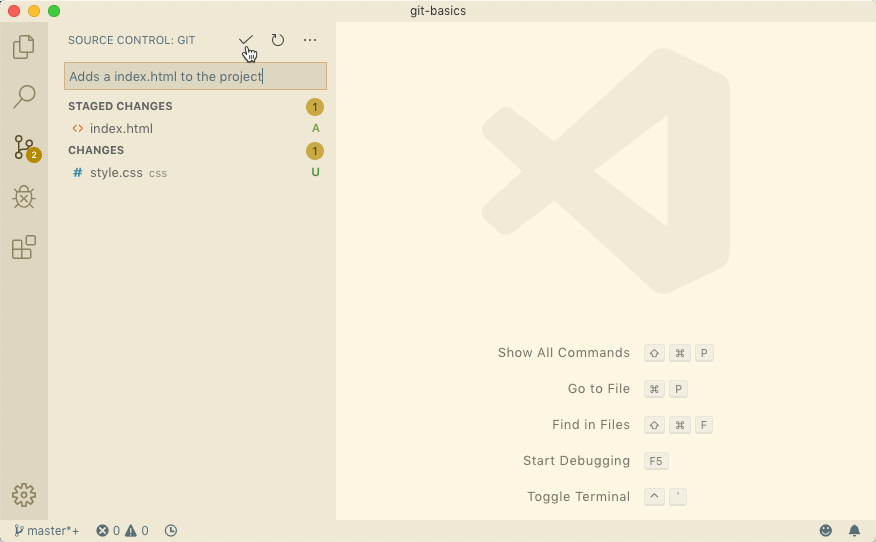
Once committed, the repository status will be updated.
Pulling the changes
Pull process is helpful and must when we are working in teams. By pulling any changes from time to time we make sure that we are not going to overwrite other user's changes by directly pushing our code.
Even if we are the only developer working on a repository we should get in the habit of pulling the code first. This will also save us from errors in case we are using switching computers.
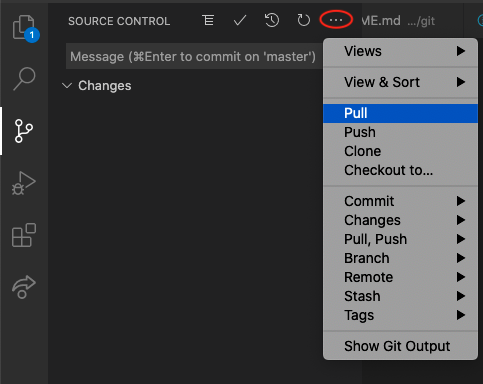
In the Source Control tab, open the triple dot menu, and select "Pull".
You can now verify that your commits have been pushed by checking the remote repository on GitHub.
Note that if there are multiple new commits in your local repository, they will all be published remotely when you push.
Pushing the changes
To publish your local commits to the remote repository (and submit your assignment), you will need to push the changes.
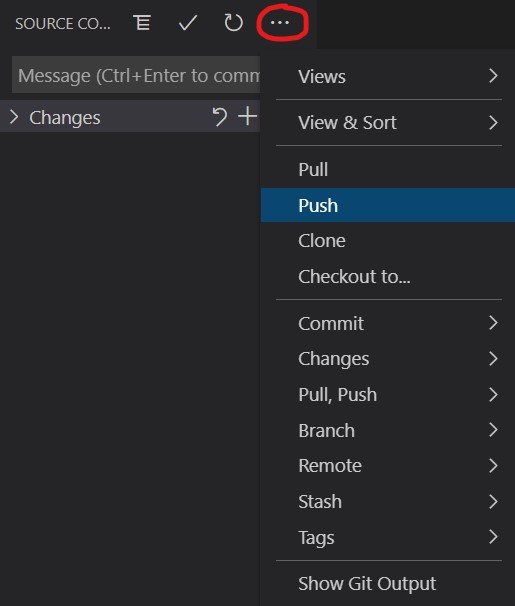
In the Source Control tab, open the triple dot menu, and select "Push".
You can now verify that your commits have been pushed by checking the remote repository on GitHub.
Note that if there are multiple new commits in your local repository, they will all be published remotely when you push.