GitHub Pages
GitHub Pages is a static site hosting service designed to host your personal, organization, or project pages directly from a GitHub repository.
You get one site per GitHub account and organization, and unlimited project sites.
Get started with GitHub page by following these steps.
1. Create a repository
Go to GitHub and log into your account. Then create a new repository. Complete the form as instructed below
- The name of the repository should be named username.github.io, where username is your username on GitHub.
- Add a description, if you wish.
- Make this repository public
- Do NOT check Initialize this repository with a README
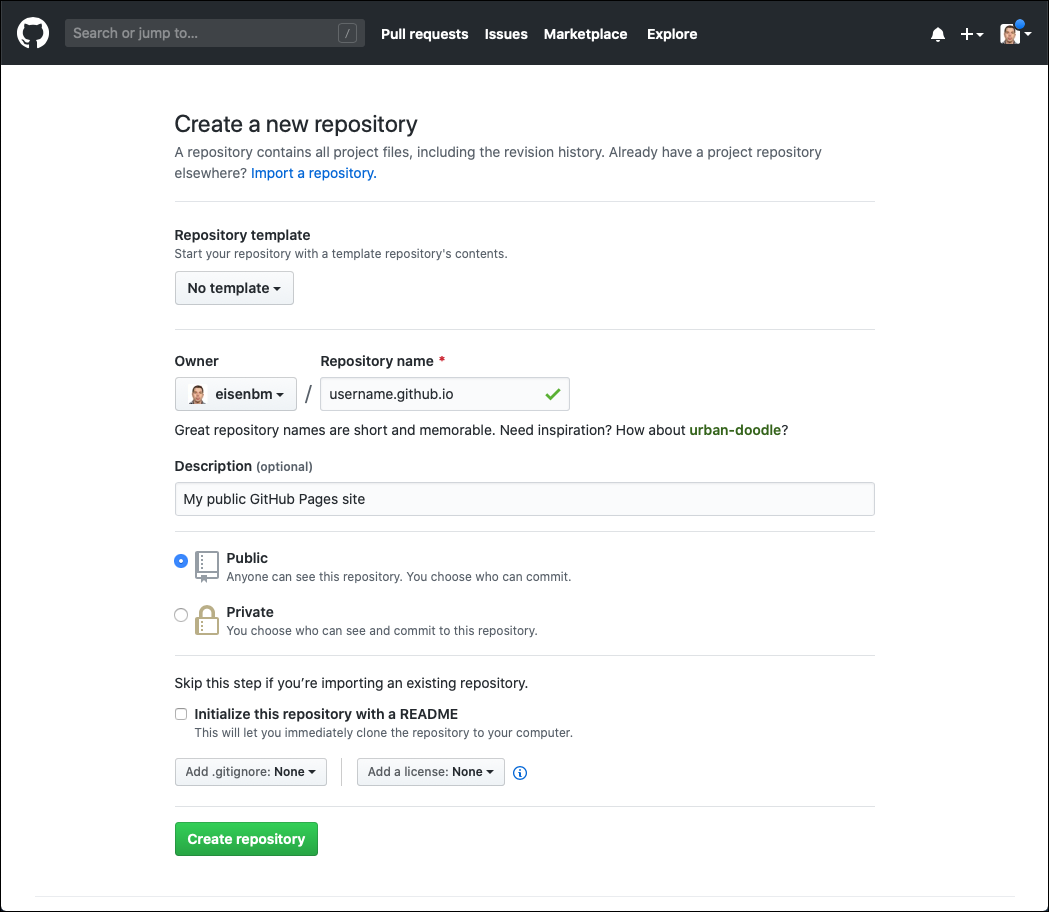
Click Create repository
2. Open your course projects folder
In Visual Studio Code, open the folder that will hold all of the projects for course using File > Open Folder (File > Open... on macOS).
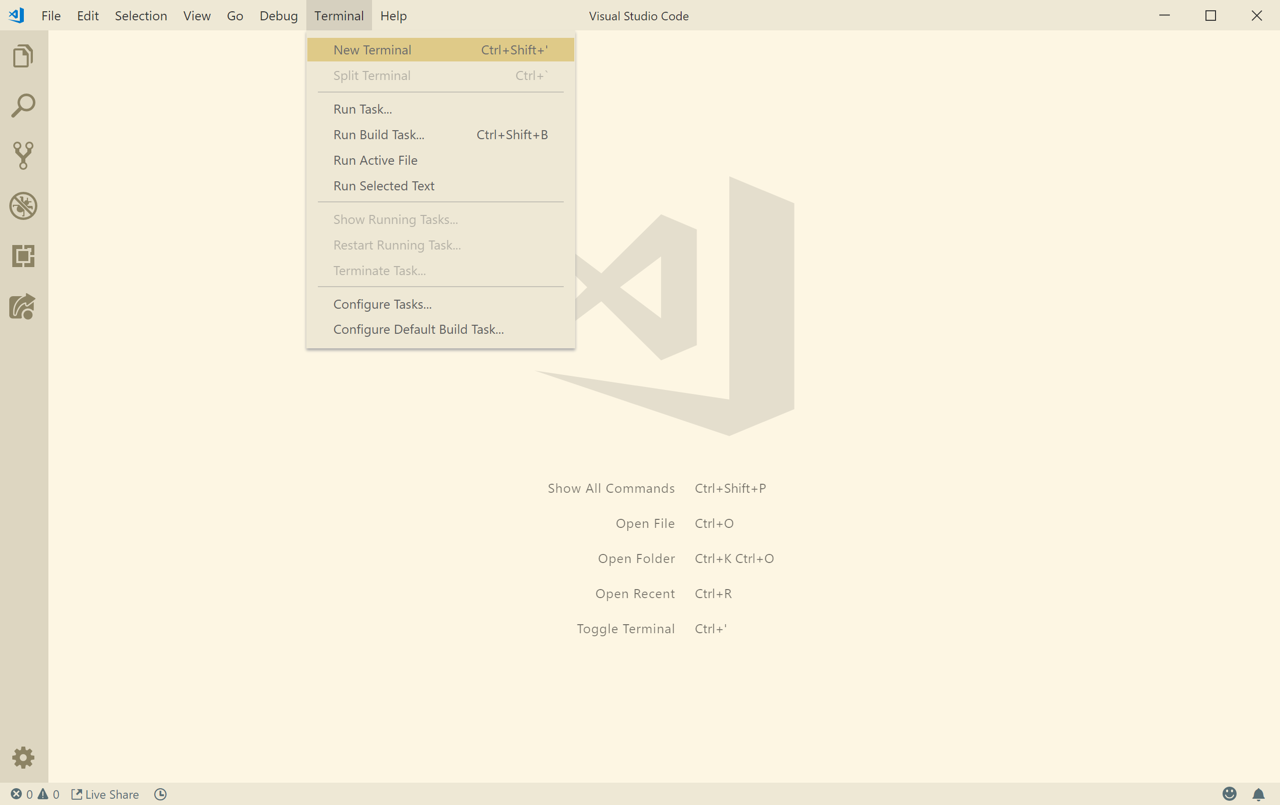
3. Open a new terminal
From the Terminal menu, select New Terminal. The terminal should appear below.
4. Clone the repository
From inside the the terminal, enter the following commands.
Remember
Replace username with your username.
git clone https://github.com/username/username.github.io
5. Create an index.html file
From inside the terminal, enter the following commands.
Remember
Replace username with your username and your name with your name
cd username.github.io
echo "Your Name" > index.html
6. Push it
From inside the terminal, enter the following commands.
git add --all
git commit -m "Initial commit"
git push -u origin master
7. Visit your site
Remember
Replace username with your username.
From your browser go to https://username.github.io
8. Future updates
Now, that your GitHub Pages site is set up you can make as many changes as you would like. To publish the changes, just Add, Commit, and Push the changes to GitHub.
Learn how to use Visual Studio Code's Version Control