Vue CLI Installation
The following instruction will walk how to install Vue CLI, launch Vue CLI UI and create a project with custom dependencies.
Installing Vue CLI
To install Vue CLI, enter the following command into the terminal window:
npm install -g @vue/cli
Once the installation is complete, you can check the installation with the following command:
vue --version
Launching Vue CLI GUI
The Vue CLI GUI is a Graphical User Interface (GUI) for creating and managing Vue CLI projects and runs completely in the browser. To launch the Vue CLI GUI enter the following command into the terminal window:
vue ui
NOTE
The terminal window that launches Vue CLI GUI must remain open while in use.
Once the Vue CLI GUI, your browser should automatically open to page like this:
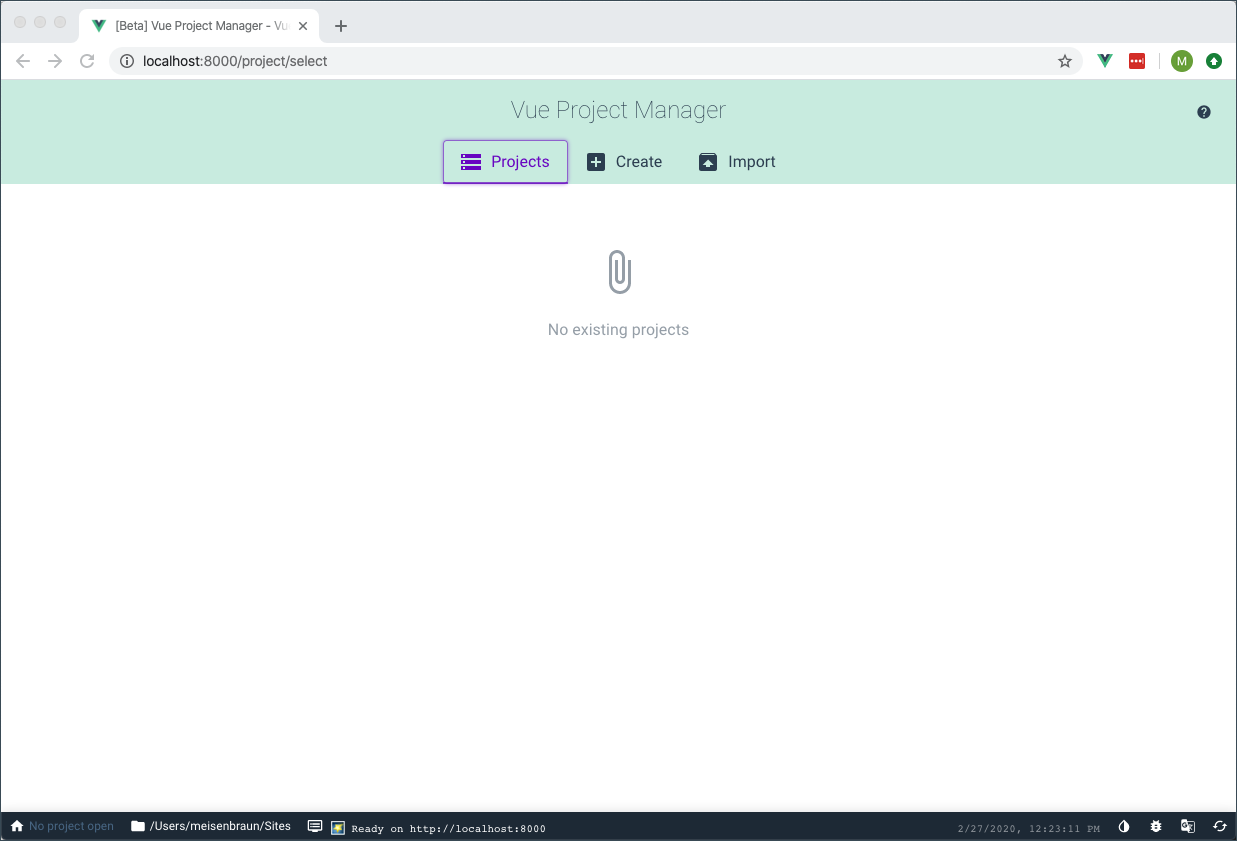
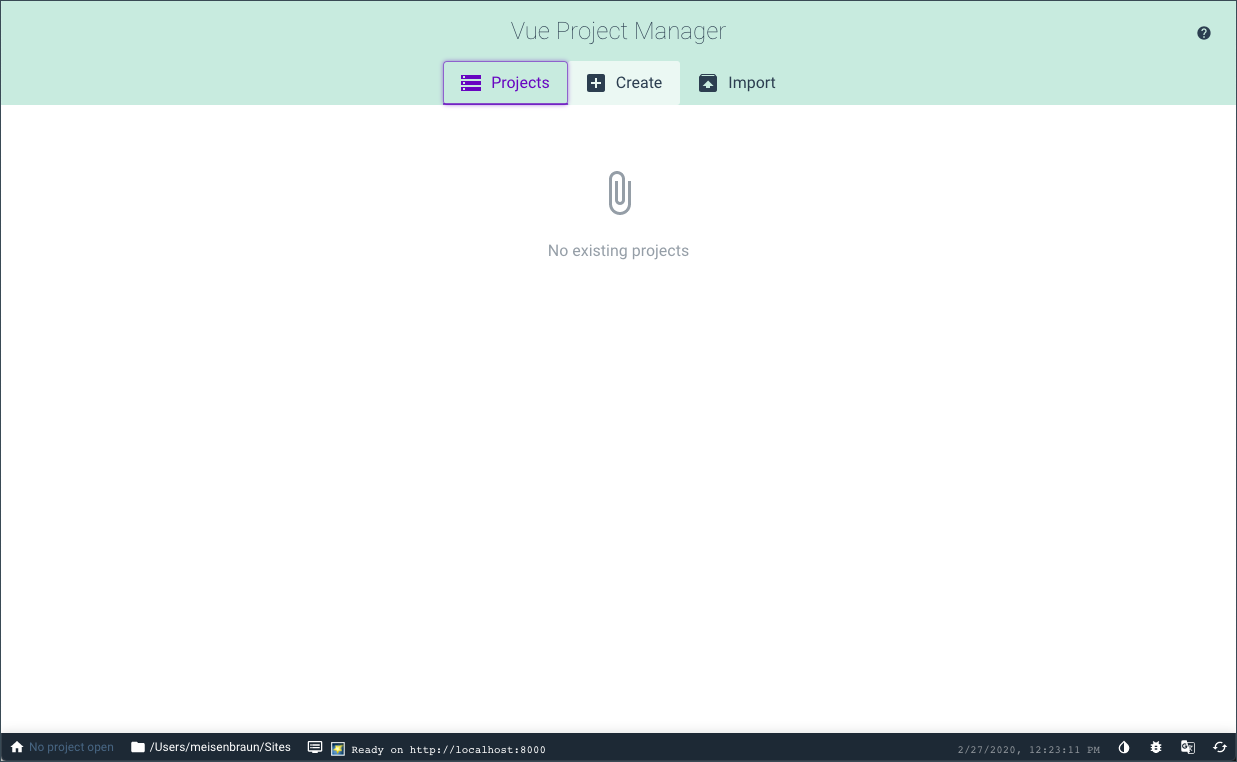
Creating a Project
From the Vue Project Manager of Vue CLI GUI, click on the Create in the navbar.
From here you see the current file directory of your computer, navigation to the directory you wish to create a new project and then click on the Create a new project here button. You should be now see the Create a new project page.
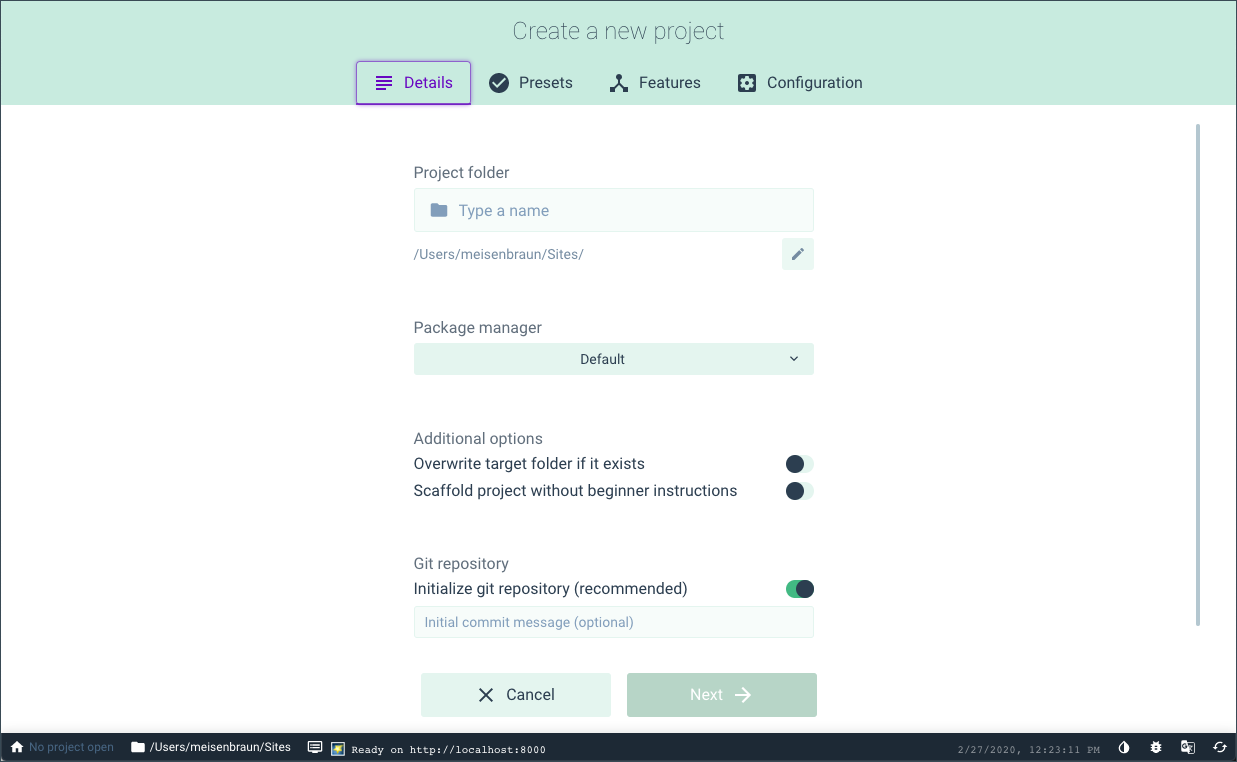
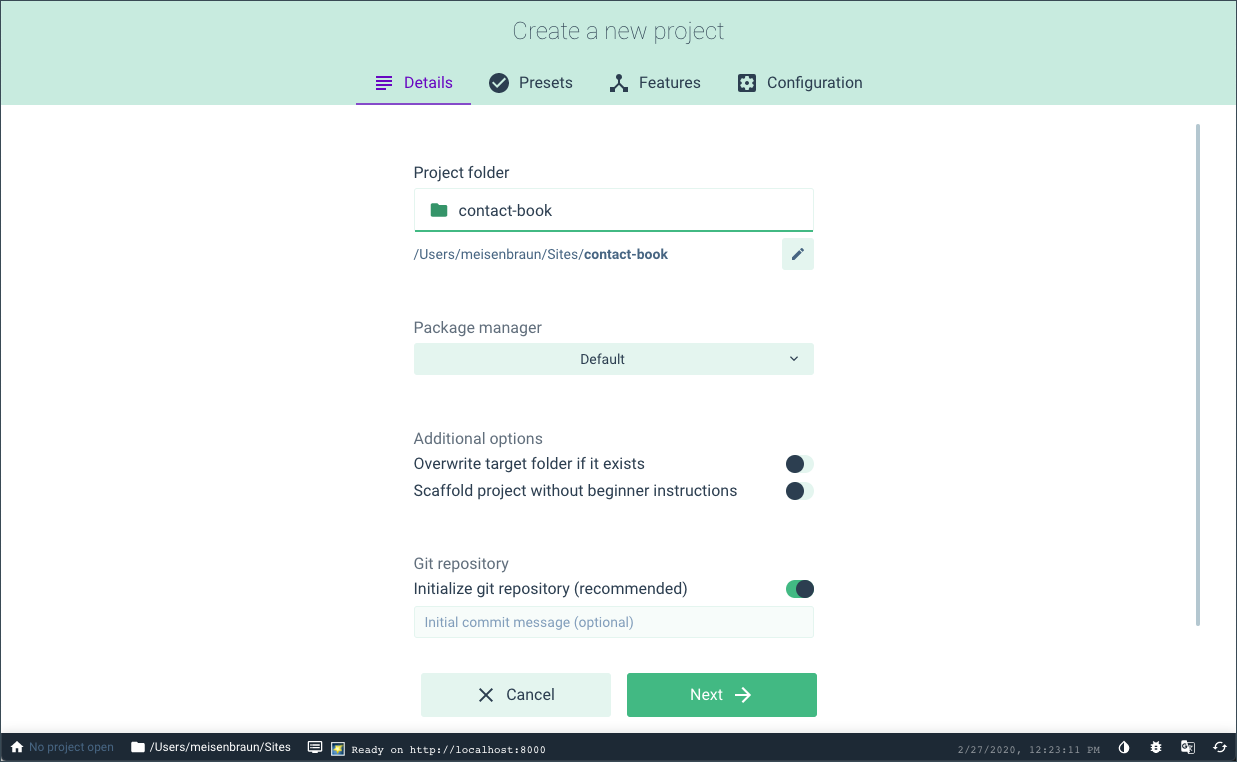
Give a name for your project folder. The name should be all lowercase and contain no spaces (e.g. contact-book). All other options can stay at their default setting. Then click Next.
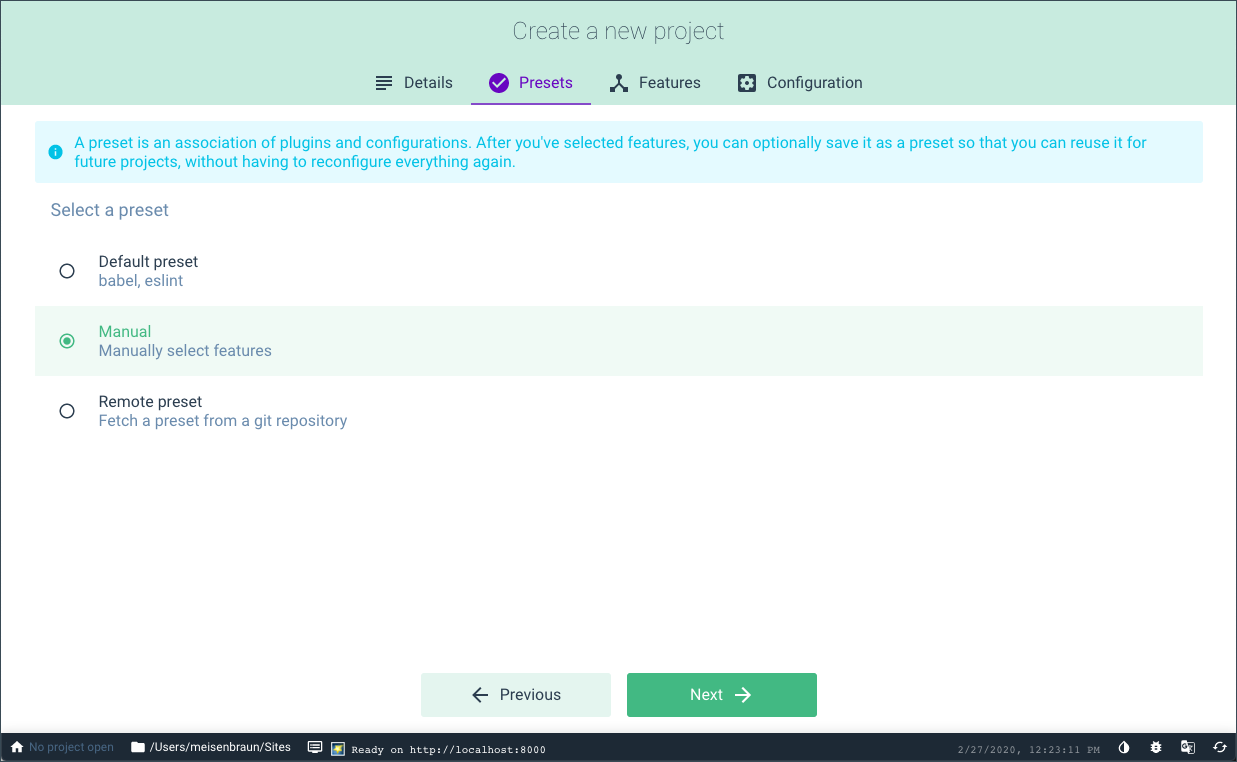
The next step will be selecting a preset that set which plugins and configuration will be needed for the project. For this course, we are going to select Manual, which will allow us to select our own plugins and configuration. Then click Next.
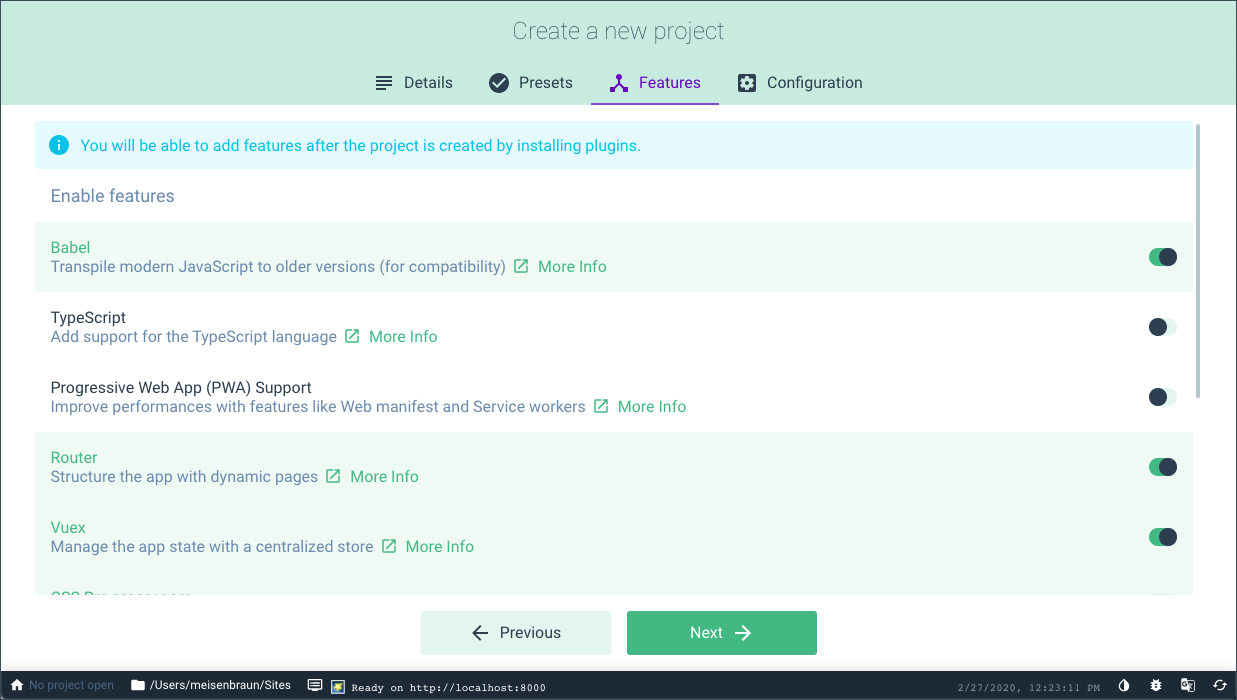
The features page lets use select which plugins and dependencies we want for our project. The following features should be enabled:
- Babel
- Router
- Vuex
- CSS Pre-processors
- Linter / Formatter
All other features should remain disabled. Once the features above have been enabled, click Next.
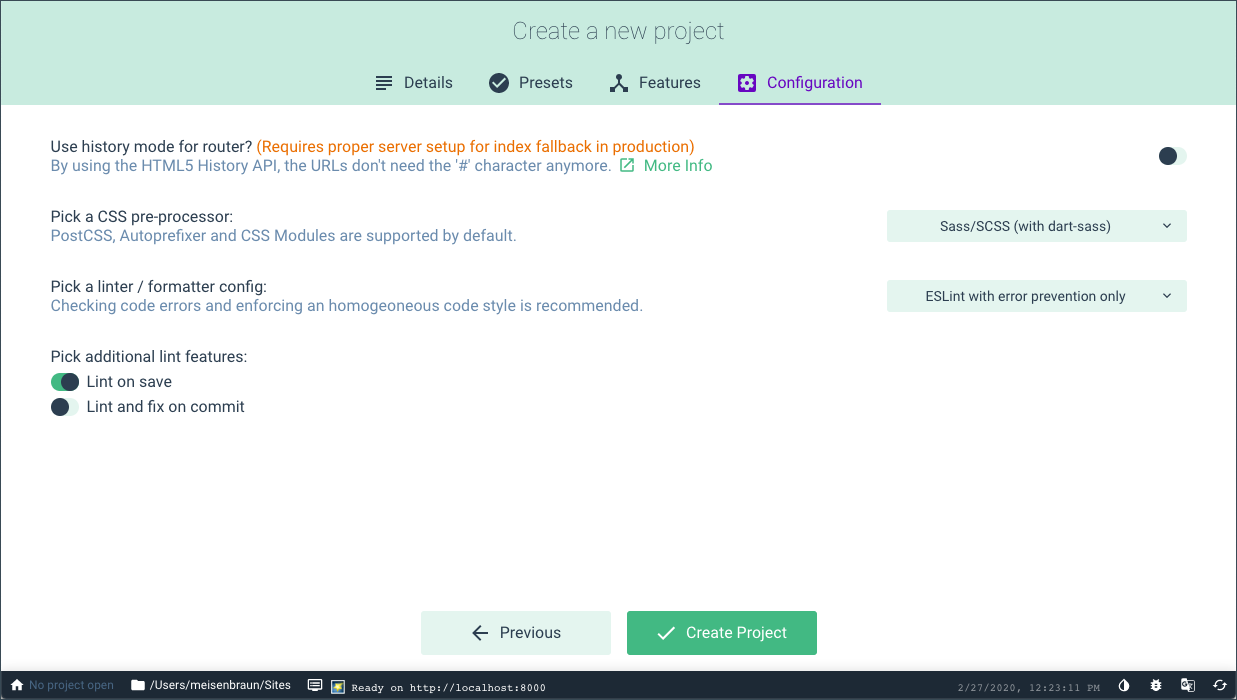
On the final page, we will set our project configuration. For Pick a CSS Pre-processor, select Sass/SCSS (with dart-sass) and Pick a linter / formatter config, select ESLint with error prevention only. Leave all other options with their default setting. Then click Create Project.
NOTE
You will be ask if you want to save these settings as a new preset to be used in the future. This is an optional step and will not affect the project being created.
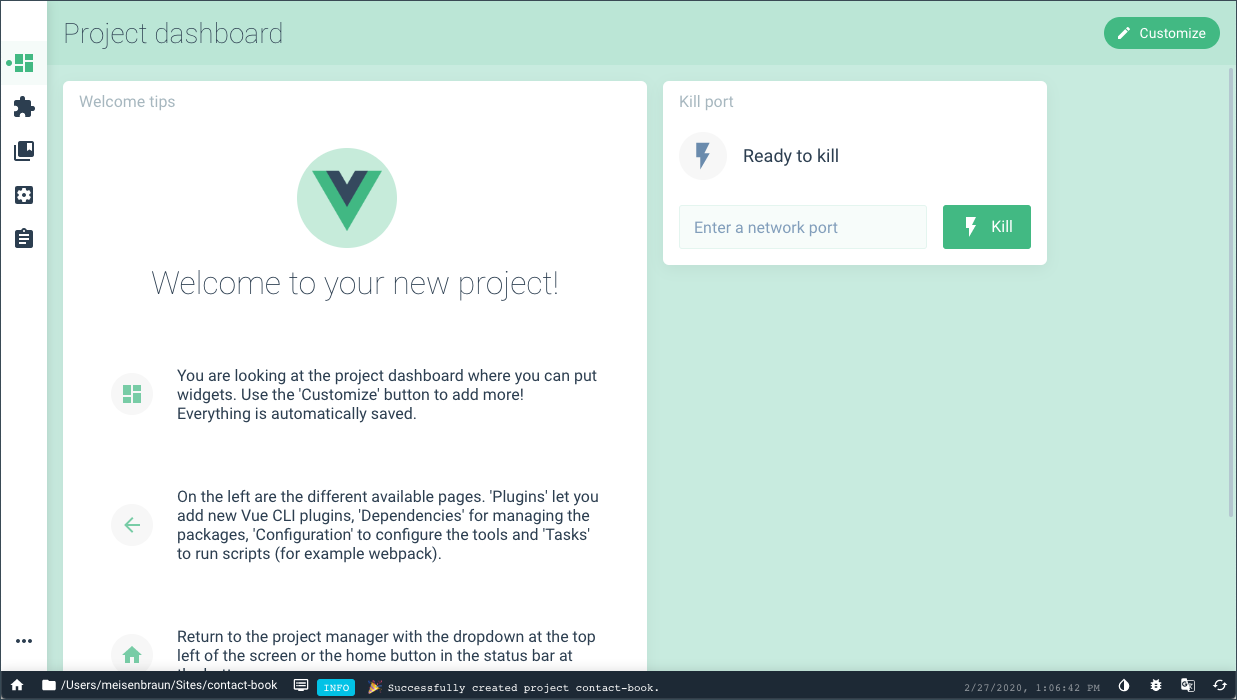
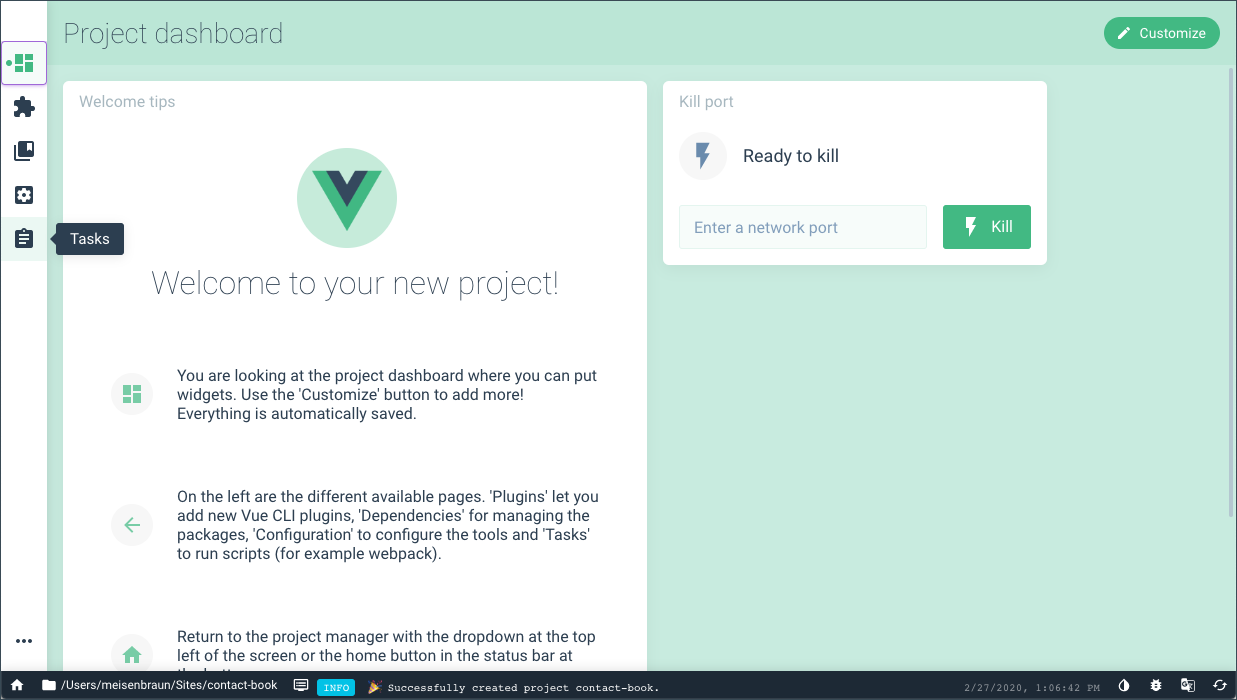
Once the project is finished being created, you will be brought to the Project Dashboard page.
Serving the Project
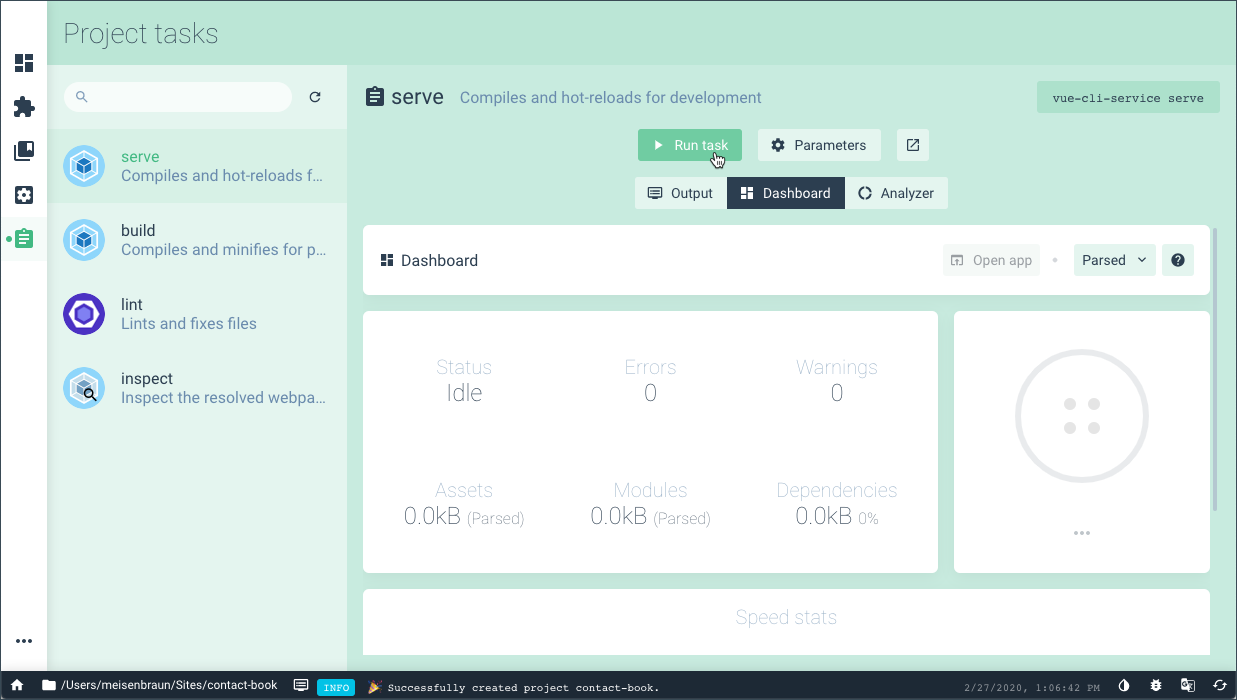
Now that we have the project create, we can now serve the project to the browser. This can be done using the Vue CLI GUI. From the Project Dashboard, click on the Tasks icon in left navbar.
From the Project Tasks page we can see all that actions we can take with our project. The one we are interested in right now is the Serve task. With the Serve tab selected, click the Run Task button.
Once the project is running, an Open App button will appear. Clicking on the button will open the project in the browser.
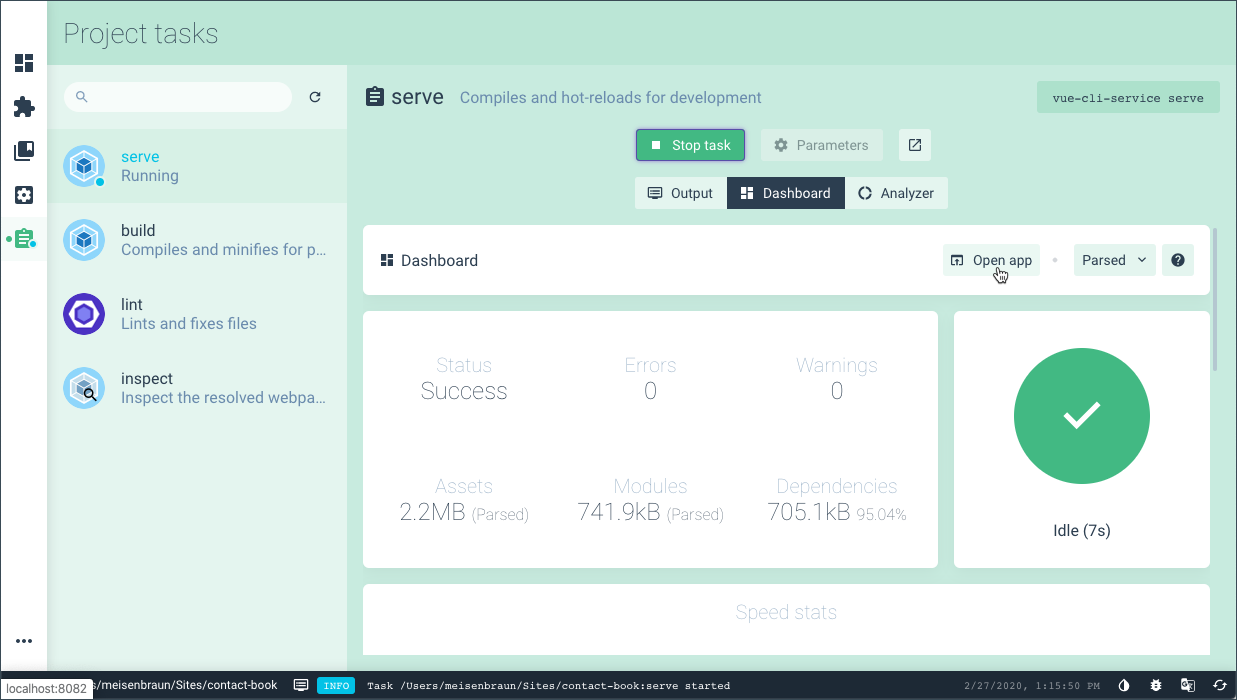
With the project being serve to browser by Vue CLI, we will give instant feedback when changes made to project.
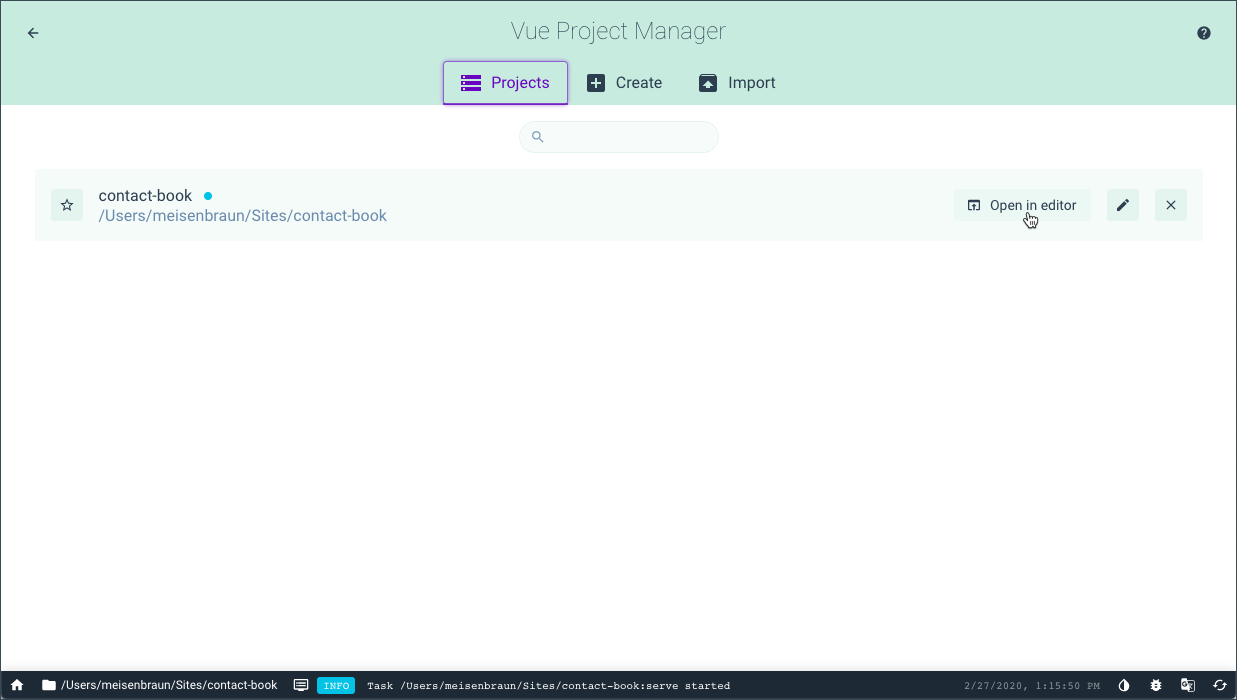
Opening the Project
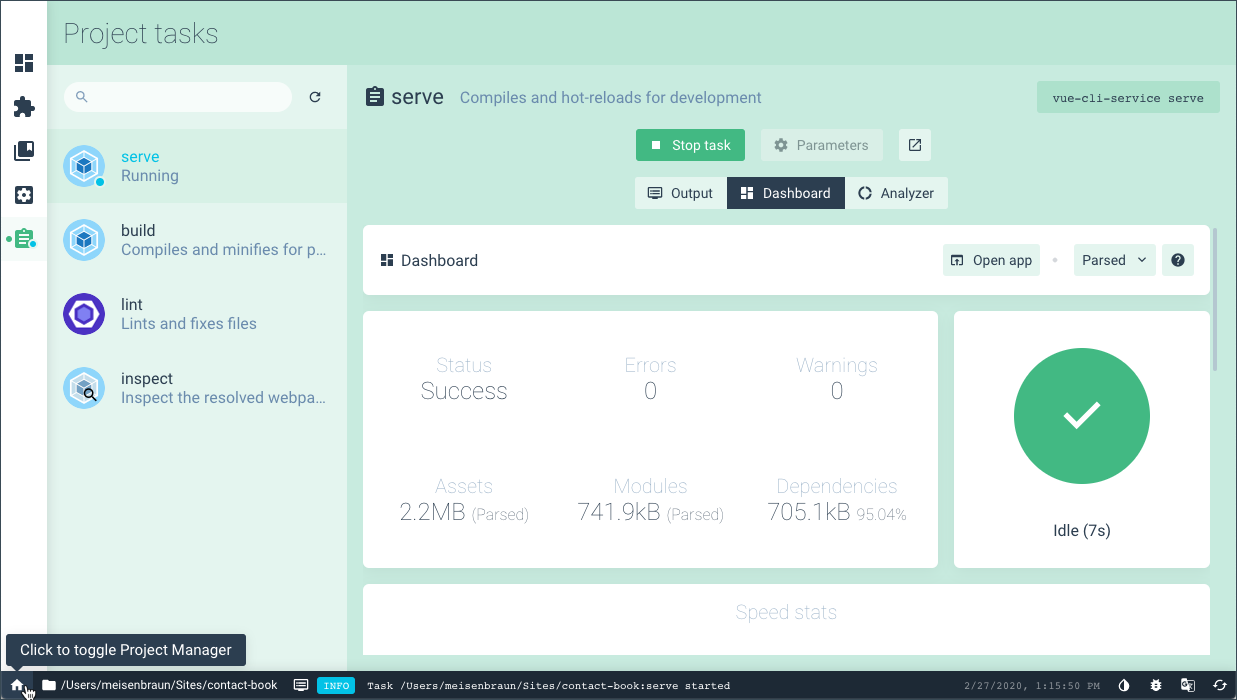
Now, that we have the project created and being served to the browser, it is time to open it into VS Code. The simplest way to this is to go back to Vue CLI GUI and click on the little home at the bottom left corner of the page. This will take us back to Vue Project Manager.
From the Vue Project Manager, we should see the project we just created. Inside our project, there will be an Open in editor button. Clicking on the button will open the project in your default text editor.
Installing Custom Modules
There are a few more custom modules that we will want to install in our project. While it *SHOULD be possible to install these modules using Vue CLI GUI, we will use the terminal to install them instead.
With the project opened in the VS Code, open a New Terminal by going to Terminal > New Terminal. Inside the terminal, type the following command:
npm install --save axios firebase vuefire
This command will install several packages that will be useful when created our project including Axios, the Firebase SDK, and Font Awesome. Once the installation is complete, we are going to add the Bootstrap-vue plugin. Inside the terminal, type the following command:
vue add bootstrap-vue
NOTE
You may be asked some questions during the installation process. Say yes to all questions.
Now that our project is all set up, we will take a deeper look at the project Vue CLI generated for use.