Working with a GitHub Repository
To start working with a GitHub Repository we first have to bring it to our computer, a process called cloning.
Cloning a repository
Click on the clipboard icon next to the repository URL. 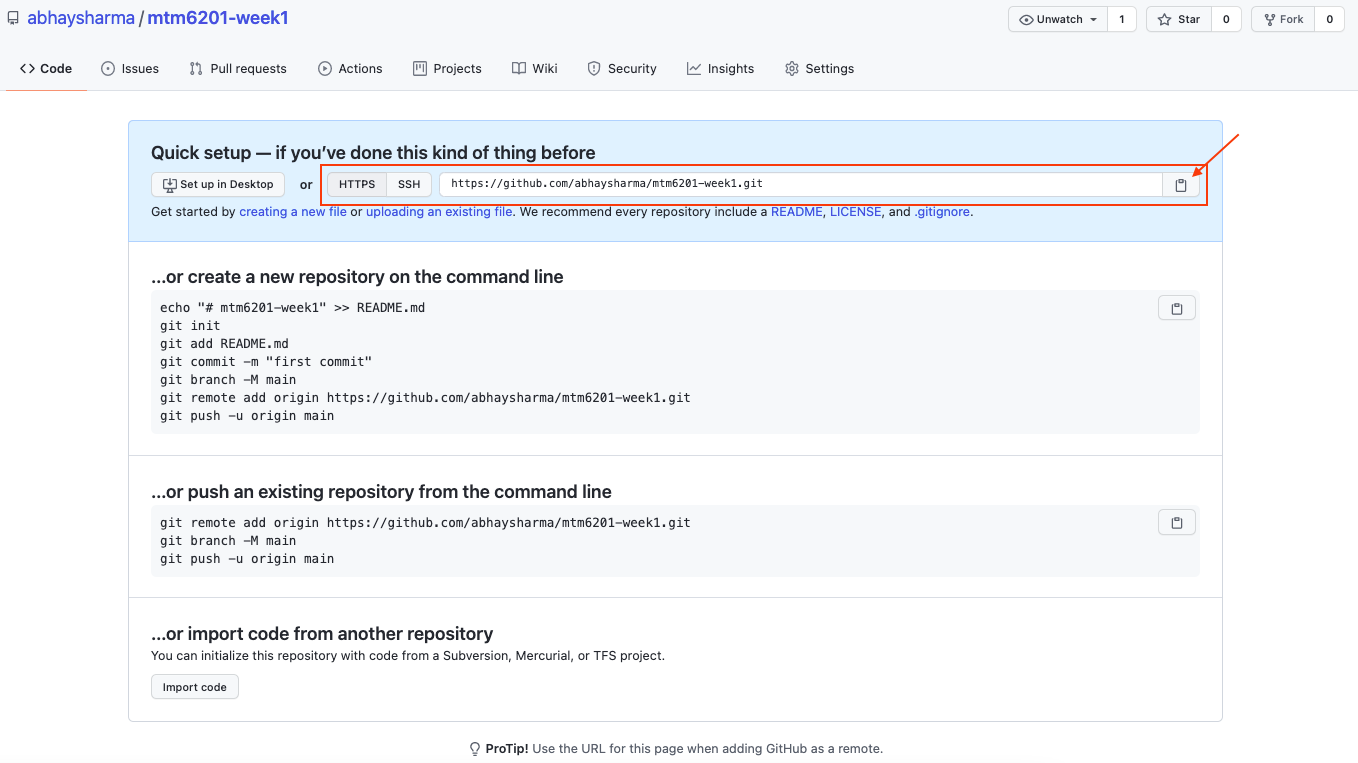
If your repository page looks different than above screenshot the link can be found under code button 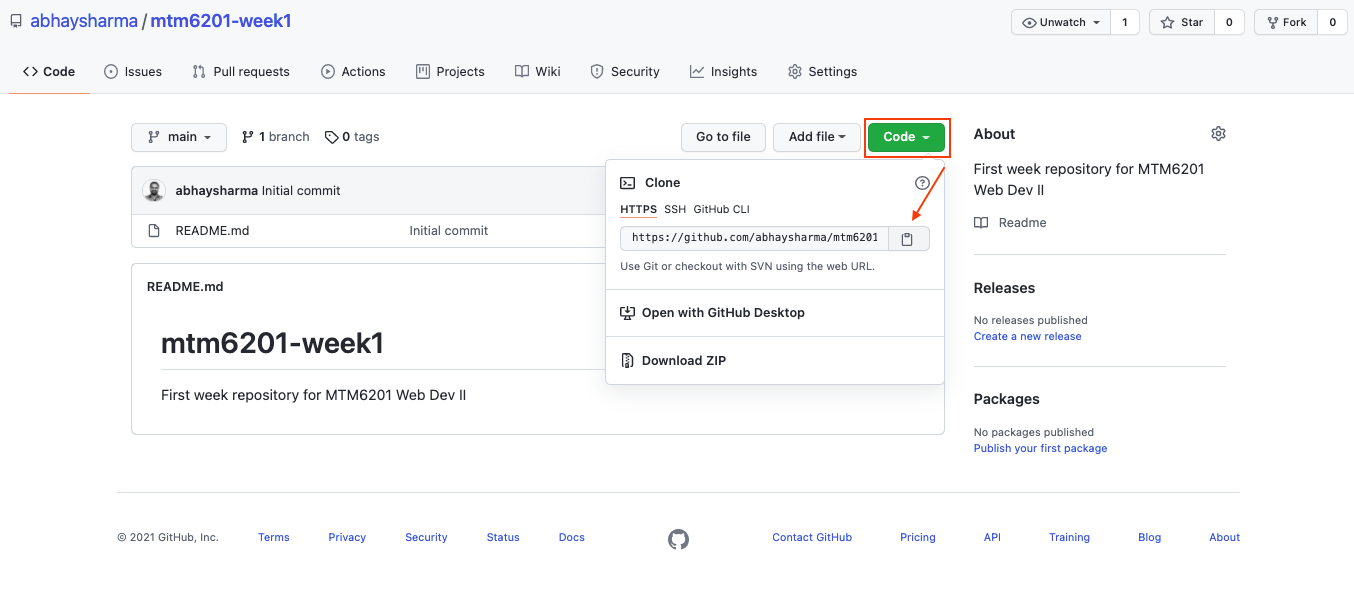
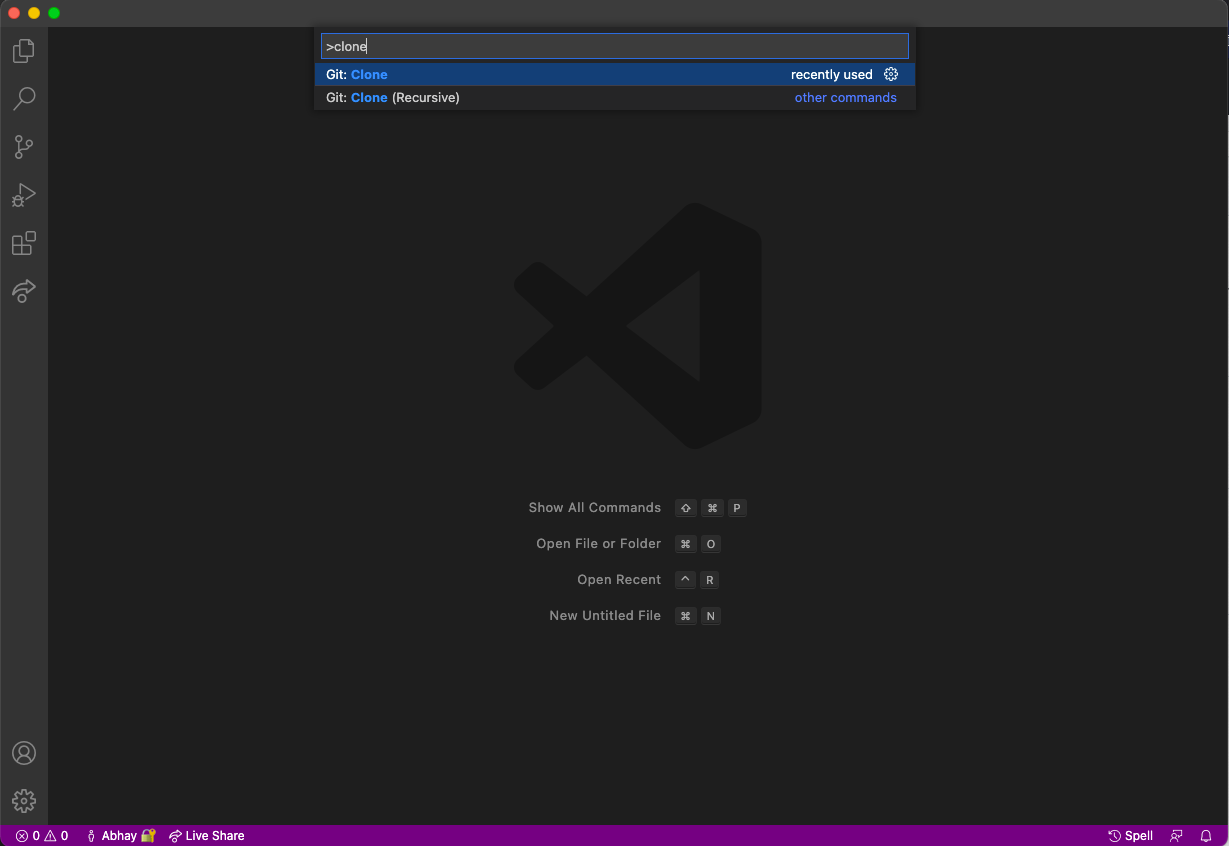
Now, open Visual Studio Code and on a Mac computer press Command Shift P or on a Windows computer press Control Shit P to open commands panel.
Search for clone and select Git Clone option.
Paste in the repository URL copied from GitHub.com and hit enter. 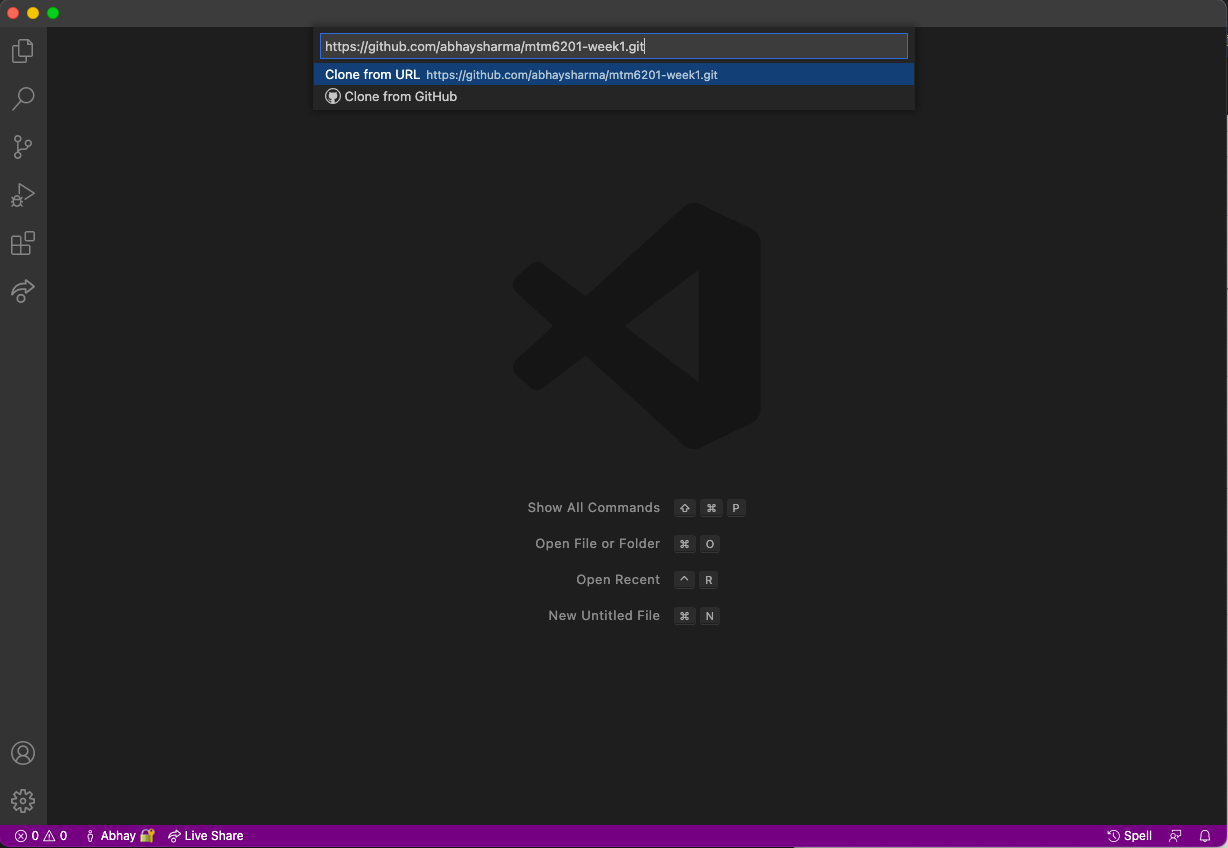
Select the location for your repository. Note: DO NOT select an existing repository folder as the location to clone this repository. 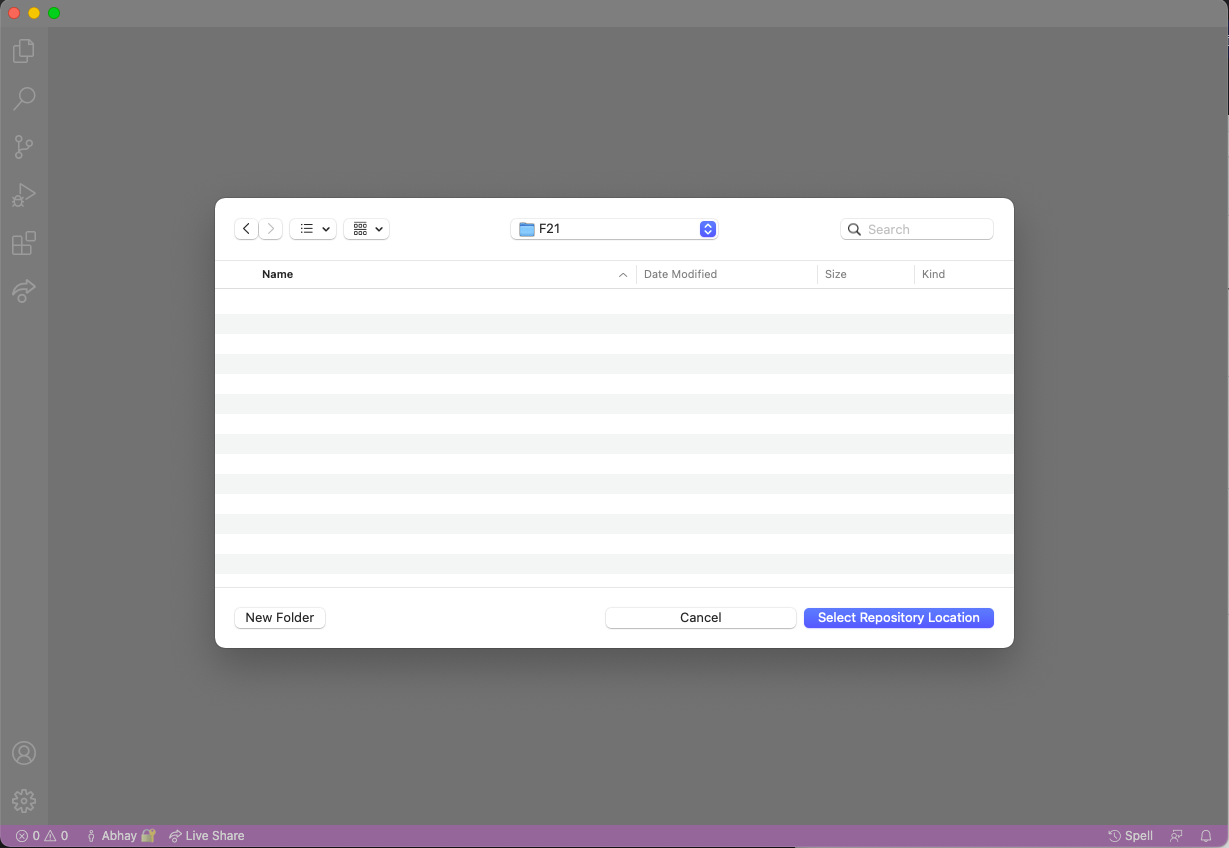
(Optional) if prompted to trust the authors of the files select "Trust authors of all files"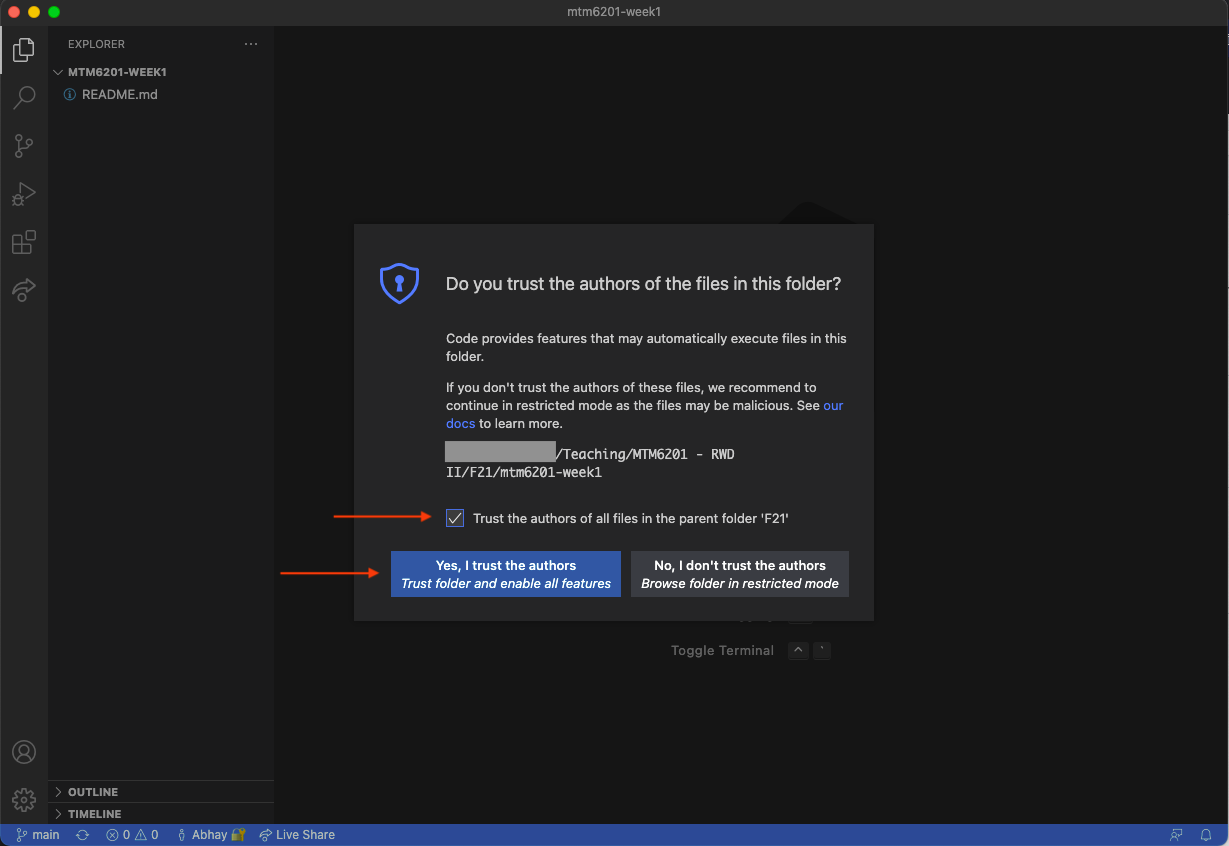
Once the cloning process is complete you will see a prompt to open the folder or open in new window. Click on Open. 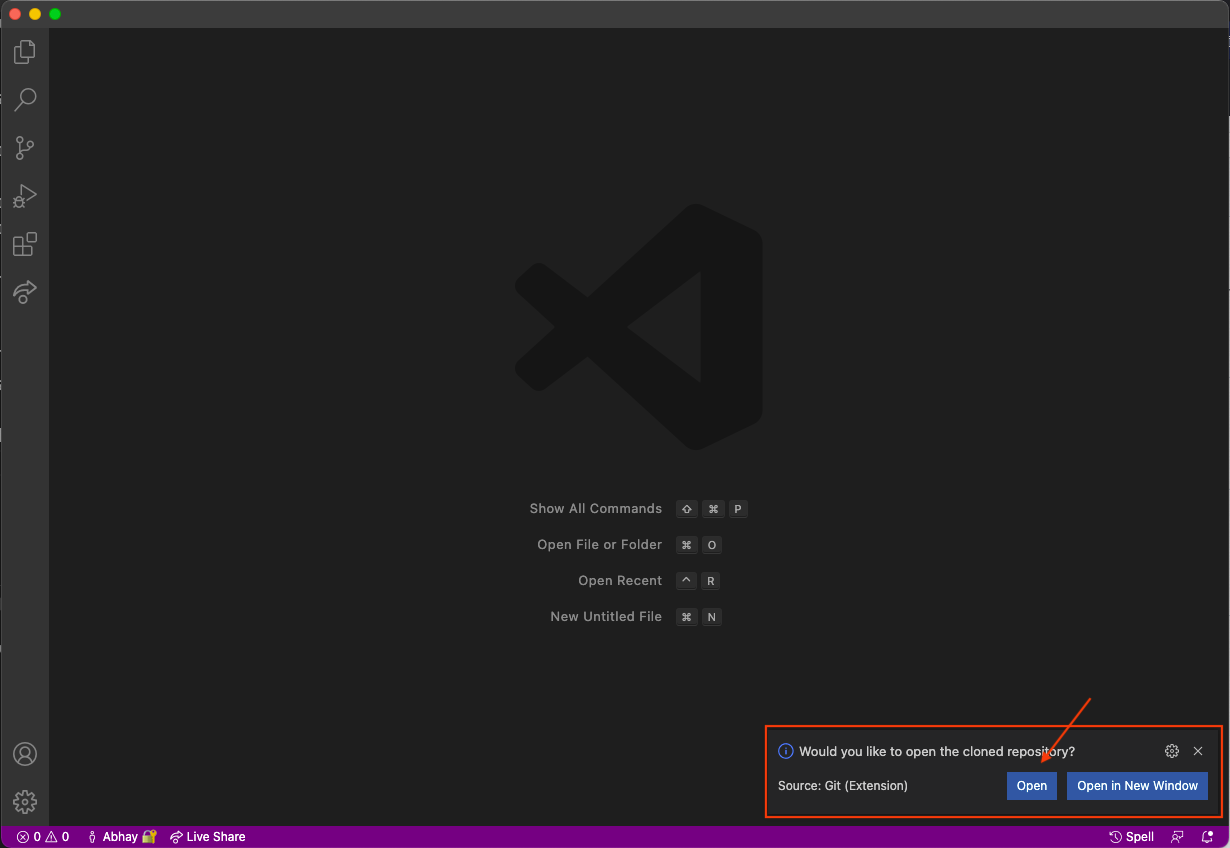
Adding a file
You can now start working with the repository, let's start by adding a file with the name index.html
Using Source Control
When we add, edit or remove any files from the repository the changes are tracked by the git version control system and in VS Code we can see these changes and register them as a version from the source control tab. 
Staging the changes
When we make any changes to the files in our repository by adding new files, editing existing files or deleting files we need to stage these changes. Staging the changes is like recognizing the changes that we want to be saved as a version. We can select one or multiple files that have been changed to be part of a version by clicking the + by the file name. 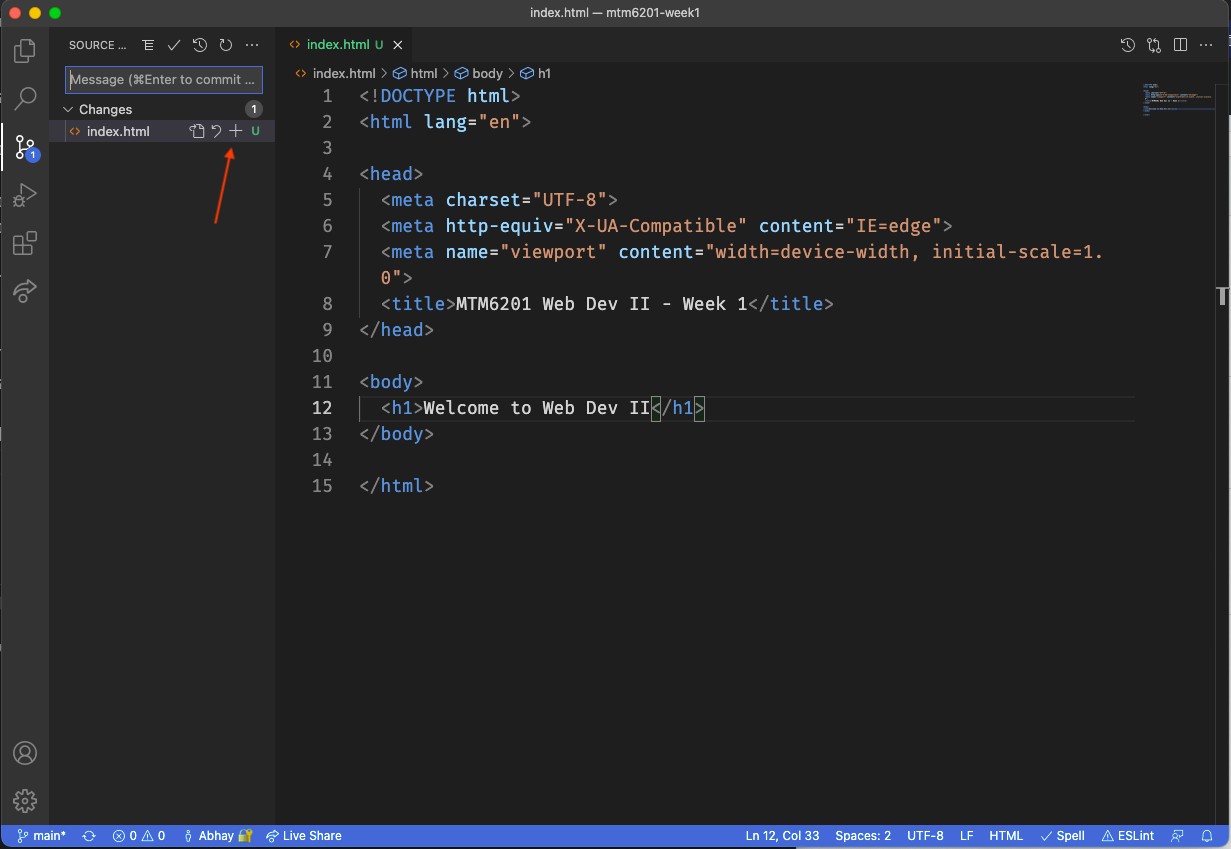
Committing the staged changes
Commit is the process to create a version of the changes that we staged in the previous step. When we commit our staged changes we tell the git version control system to save these changes as a version of our repository.
While committing we add a message in the text field, this message needs to be short and descriptive of the action being performed by the changes you are committing.
A good way to write the message is to assume that you are writing it as "This commit...". Now, you will not write "this commit" but the next part. Example: "This commit" adds index.html file, so the message will be adds index.html

Pull changes
Note
You will skip this step if this is your first commit to the repository as there is no code to be pulled.
Pull is the process to download and merge any code that might have been added to the repository by your team mate, or if you are often changing computers to work on your project. This way you can make sure that you are not going to overwrite someone's work or create other issues.
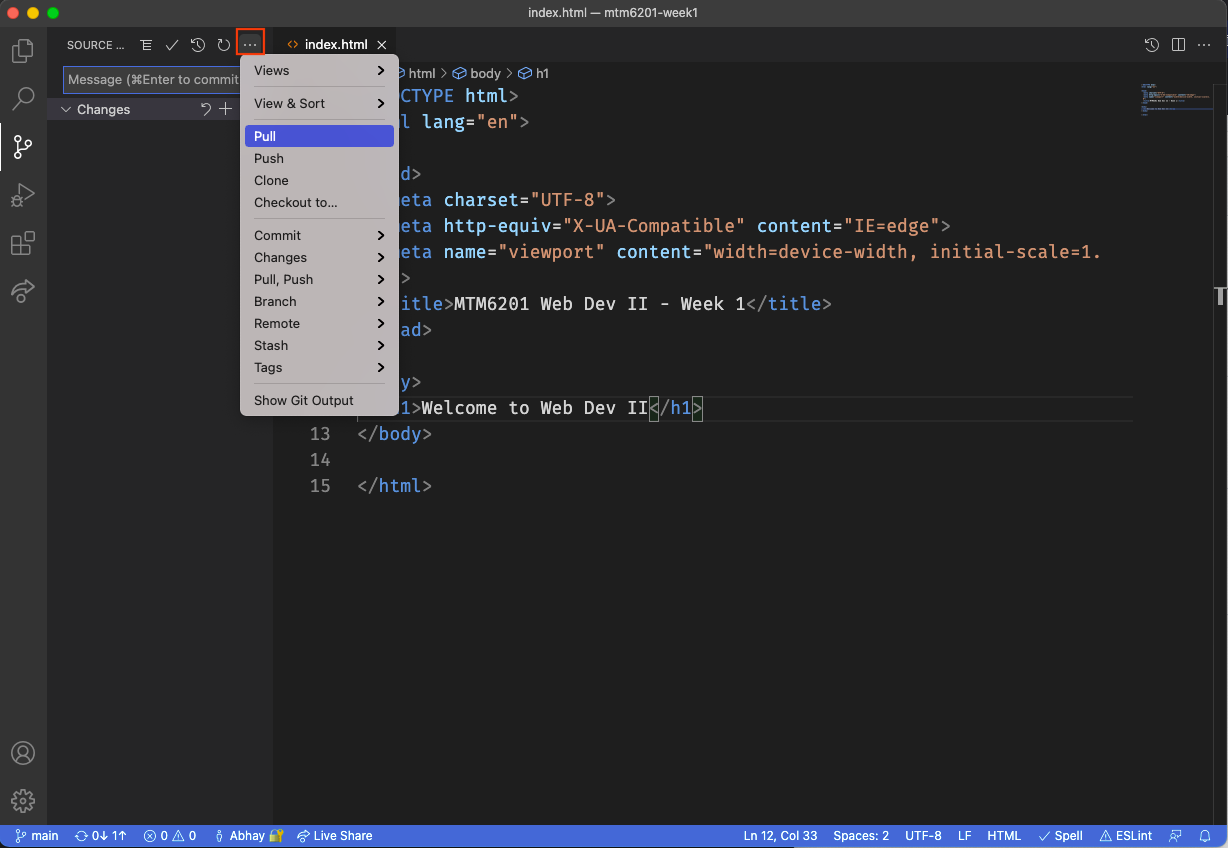
For pull simply go under more options and select pull.
Push your changes
Push is the process of pushing your code to the GitHub repository for your teammates to pull and work with. This will send your code along with the commits to GitHub.com 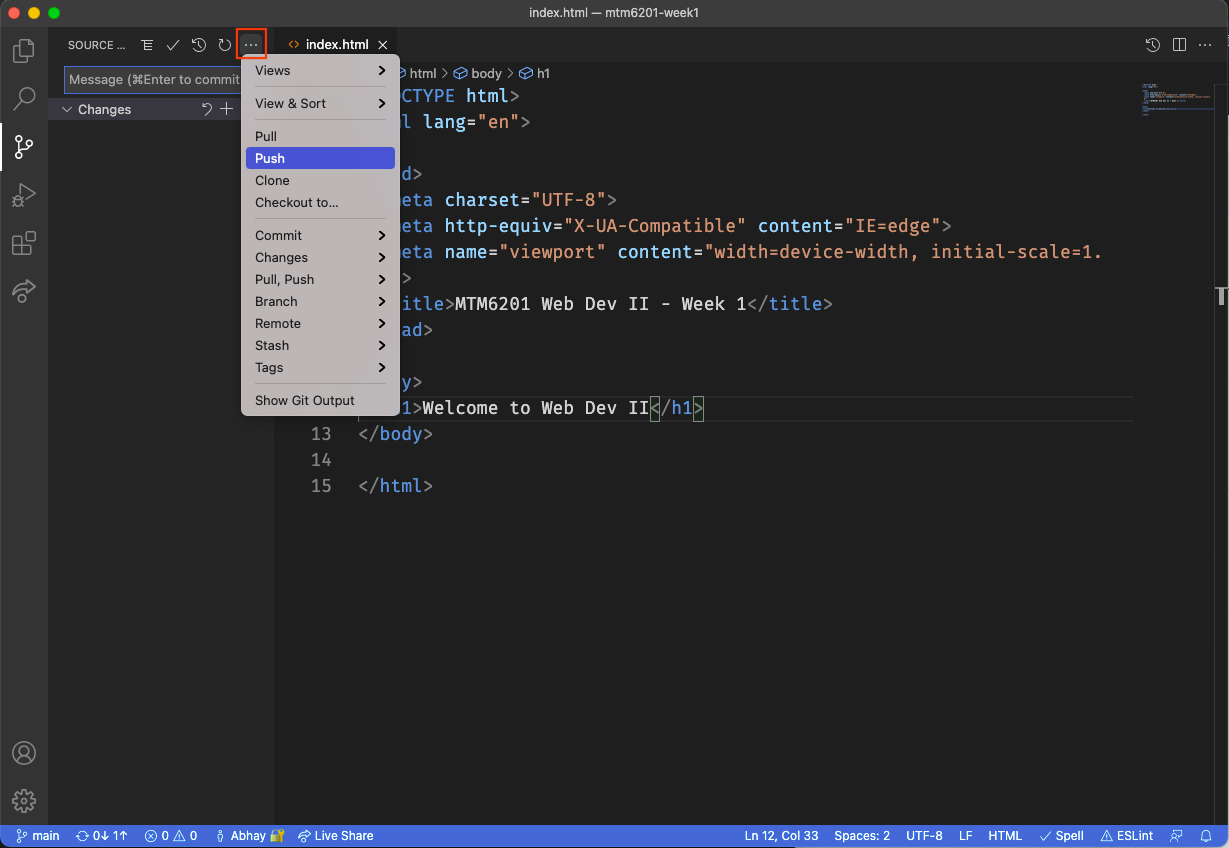
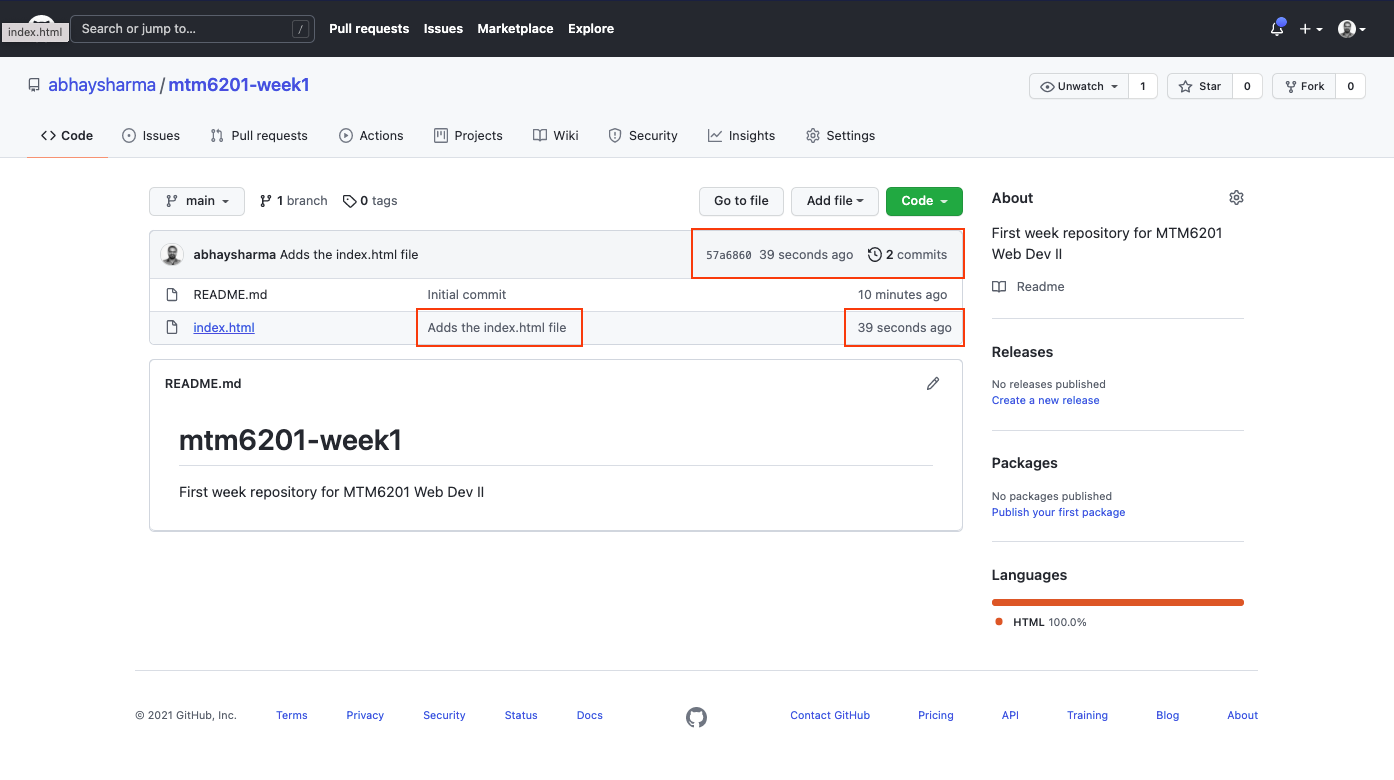
Check for the update
You can now head over to GitHub.com and check for the update to show-up in your repository. You will notice a few things as highlighted in the screenshot below: your commit message, when the repository was updated, when the commit was made and how many commits you have.